Top Tips for Photographing the Northern Lights
Seeing the northern lights dance across the sky is truly an unforgettable experience and one that everyone should try to see just once in their lifetimes.
Such a stunning thing to behold is worth sharing, which is why the Northern Lights have become a must-shoot for many avid photographers, novices and professionals alike. But with such a unique spectacle, it’s not always easy to know how to get the best results on your northern lights photography tour.
Light and dark in such a complicated form might confuse your camera lens, particularly after a day of taking snaps of the incredible waterfalls and wildlife Iceland has to offer. Northern lights photography requires skill, and we’re here to help. Read on to find out the perfect northern lights photography settings and best tips before your trip.
Best locations for northern lights photography
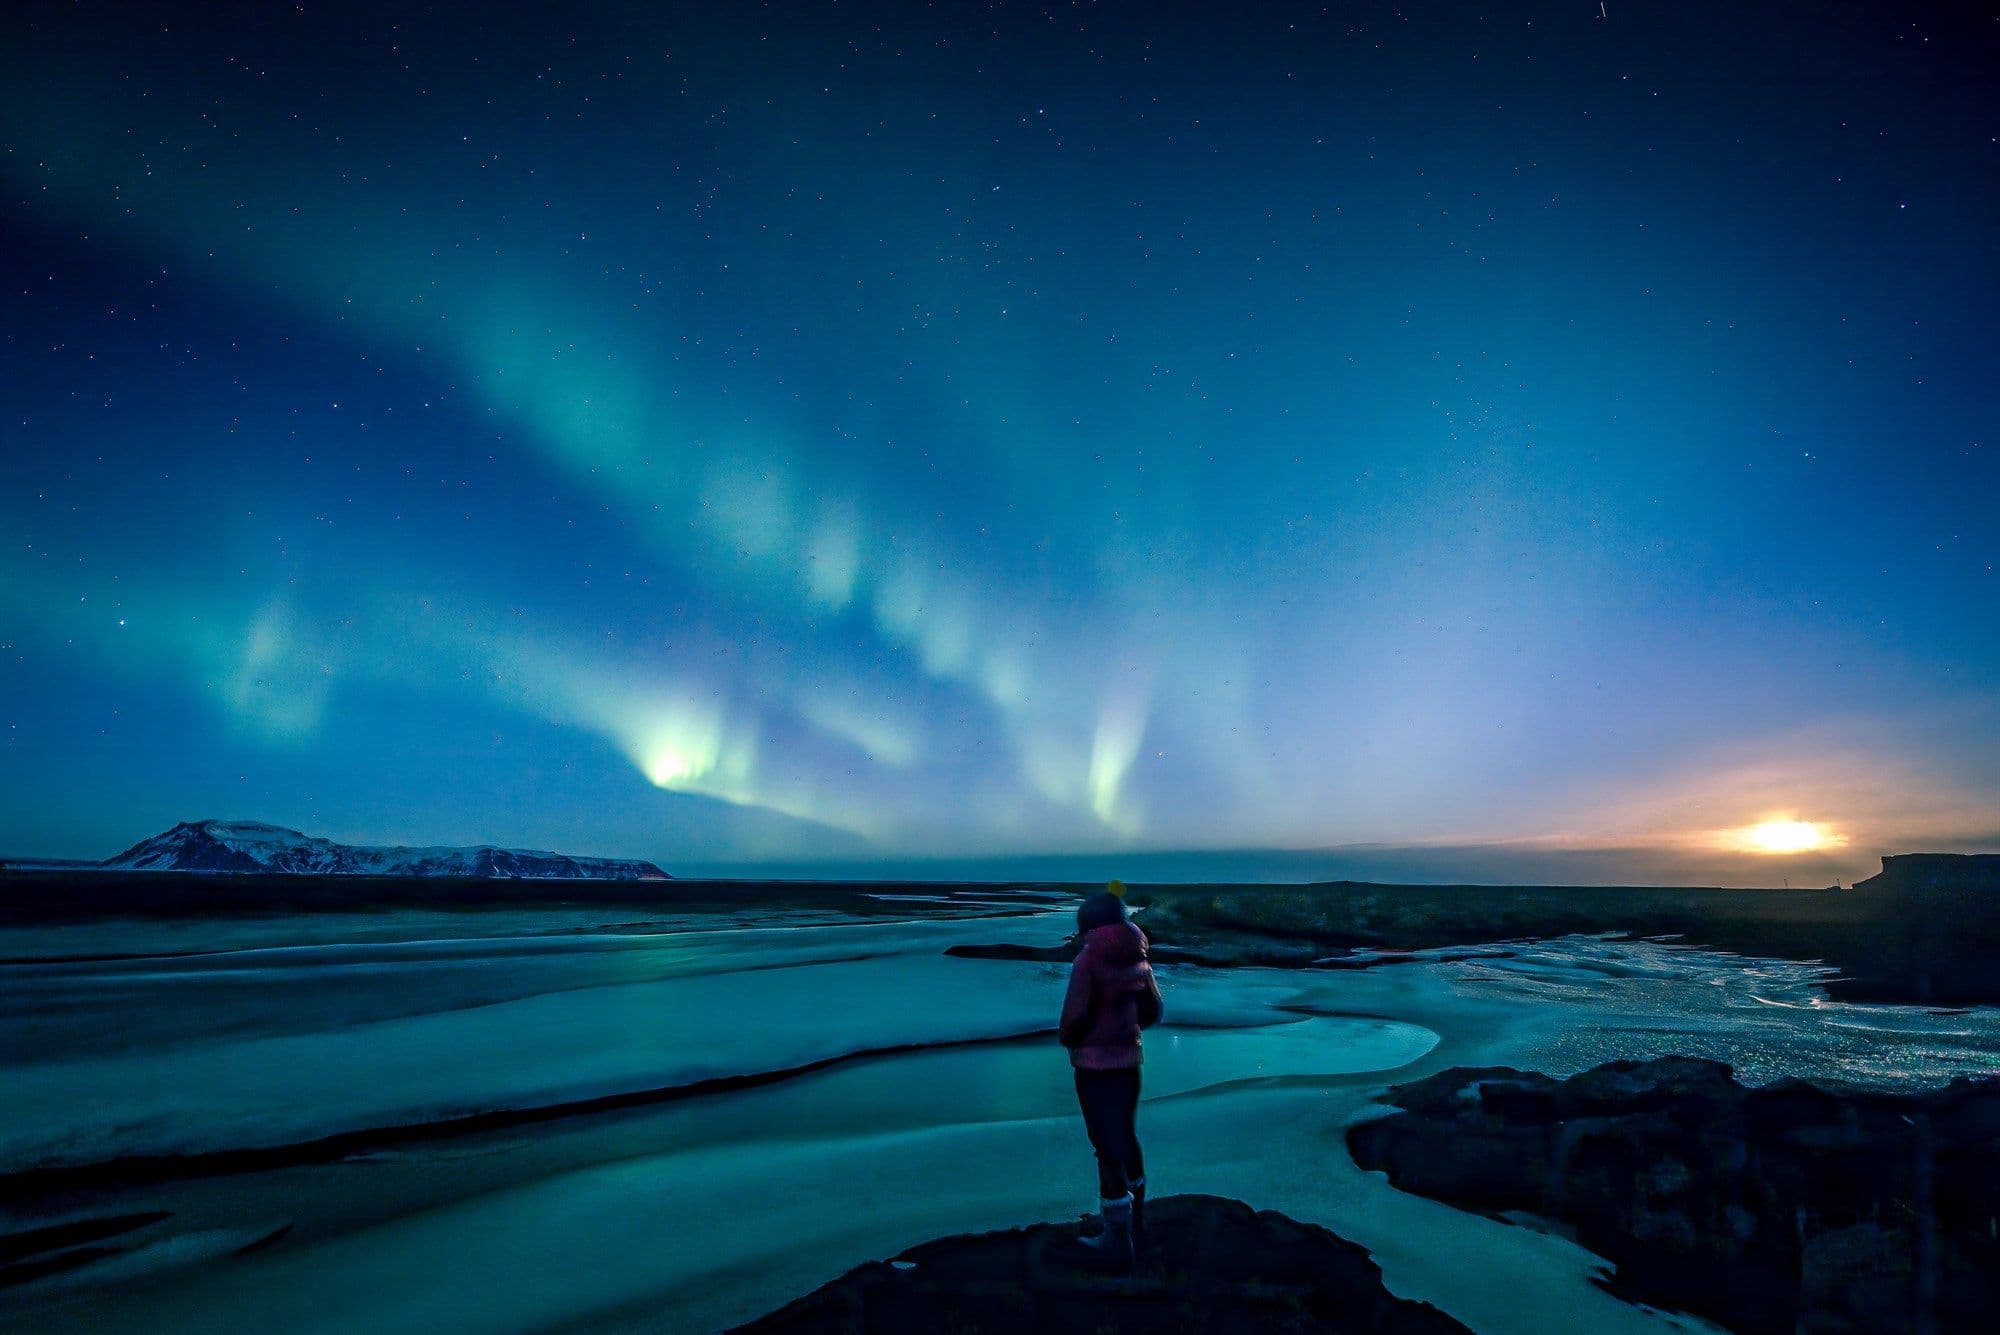
There is no single location in Iceland that can ensure you a clear view and a great photograph of this phenomenon. However, if you want to increase your chances further, find where to see the northern lights in our blog.
For more general northern lights advice, areas with little artificial light and light pollution are the best places to spot them. This usually entails searching in more rural areas of Iceland, particularly to the north of the island.
Travelling in more rural areas of Iceland may require a more capable vehicle. Our range of rental 4x4s is excellent for tackling more challenging terrain as you search for the perfect photo opportunity. You can also check Aurora Activity on the KP Index with forecast websites such as Iceland Vedur Aurora Forecast.
Northern lights photography settings
When it comes to your equipment, the right settings help to ensure you capture a clear and realistic photograph of the northern lights. You should ensure you are able to manually control the f-stop, shutter speed, and ISO on your camera. These are vital if you want to really reflect what your eyes can see. A wide-angle lens is also recommended for shoots of this kind, allowing you to capture surrounding landscapes in conjunction with the northern lights.
Your exposure settings can make or break your photography results. Experts recommend an aperture of f/2.8, or the widest possible for your camera lens, a shutter speed of between 1 and 15 seconds, and ISO 3200-6400.

These will allow you to shoot as much light as possible in your photographs while your shutter speed for the northern lights should remain short enough to capture the constant movement. If the lights are weaker or more static, you should choose a longer shutter speed, up to 25 seconds, while if they are more active you can shorten the shutter speed to around 0.5 seconds.
Note that if you find that there is more light, for example from a bright moon or other external artificial lights, you may need to lower your ISO to take advantage of these light sources.
How to photograph the northern lights
Now you’re positioned in the right place and your camera is set up, there’s only one thing to do. Before the sun sets, focus your camera as far away as possible, as the northern lights are further than your camera will manage to focus automatically. Using a tripod will ensure that you are taking the best photos - if you move while taking a photograph, the picture will naturally be blurry.
Another thing to bear in mind is that achieving the perfect photo will take time. When embarking on a northern lights photography tour, ensure you wrap up warm and take extra camera batteries with you so that you can spend as much time as possible hunting the northern lights. Adjusting your settings constantly until you find the right balance for your location will also be an important part of the trip.